Making the parchment
This week, we have to provide parchment for our codex, using whitish-yellow card that we will transform into a hopefully realistic-looking parchment!
My card is more of a beige-yellow colour, but as it was the only piece of card that looked suitable in our local office supplies shop, it will have to do :)
We're going to paint the card with coffee on one side; let it dry; then add some finishing touches that will replicate some typical features of parchment.
For example:
- hair follicles
- veins, stains, uneven colour
- holes, uneven edges, repairs
Sources of inspiration
To check out what these different features look like, I found examples of them in various manuscripts.
Source links open a new window for you.
Follicles
The follicle marks are seen very clearly on the outer edge of the leaf of this 12th century manuscript:
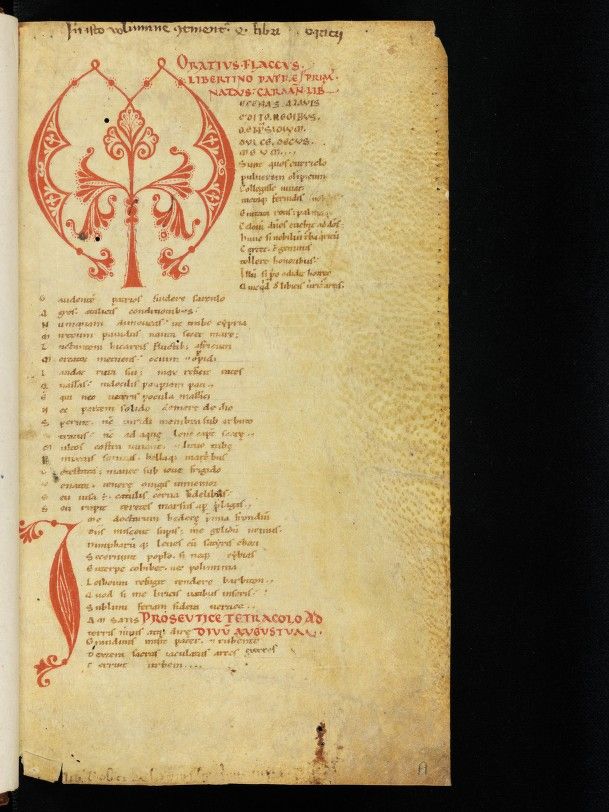
Cologny, Fondation Martin Bodmer, Cod. Bodmer 89, f. 1r – Horatius, Opera (cum glossis) (https://www.e-codices.ch/en/list/one/fmb/cb-0089)
Veins, stains, uneven colour
In this Book of Hours from the 15th century, on vellum, you see an array of splotches and dots, as well as veining running from the outer edge to the tail:
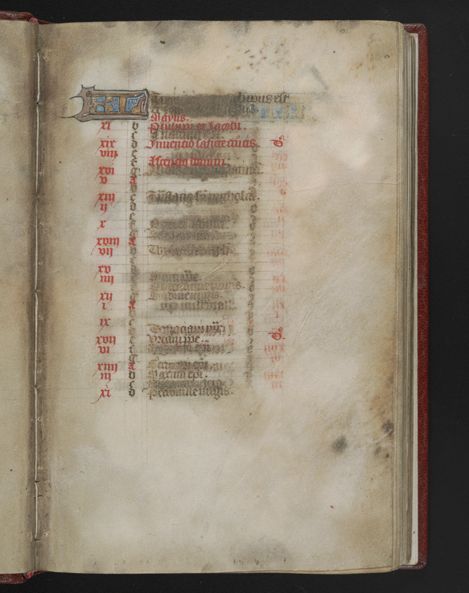
Source: https://purl.stanford.edu/gp178js1323 (Image 15, fol. 3r) Public Domain.
Holes, uneven edges, repairs
One of the more interesting features for me were the many examples of holes in parchments. Even more interesting were the ways that some of these defects were repaired, worked around, or even incorporated into the content.
In the example below from the Echternach gospels (7th to 8th century) the edges of a hole have been decorated to emphasize its bird shape!
Link: https://gallica.bnf.fr/ark:/12148/btv1b530193948/f39.item
In this fascinating example from the 9th Century Book of Kells, a square patch has been sewn onto the page - maybe to cover a hole, or some other imperfection:
Link: https://digitalcollections.tcd.ie/concern/folios/zp38wc90p
As well as showing how edges can be uneven, a hole and a long tear in this example from the Golden Legend (Legenda Aurea, 14th century) have been repaired by imaginative and colourful stitching:
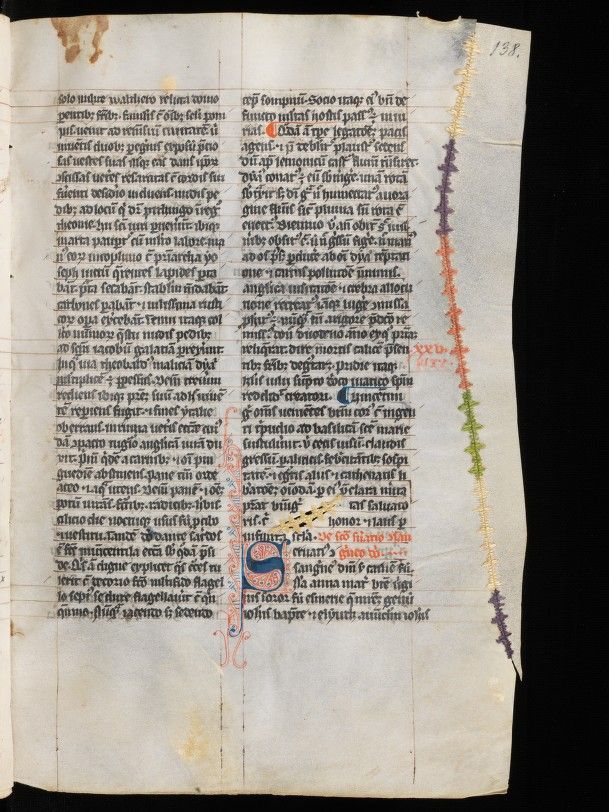
Fribourg/Freiburg, Bibliothèque cantonale et universitaire/Kantons- und Universitätsbibliothek, Ms. L 34, f. 138r – Jacobus de Voragine, Legenda Aurea (http://www.e-codices.ch/en/bcuf/L0034/138r)
Transforming the card into parchment
step 1
Having assembled the card, the coffee and a roll of kitchen paper, a rag, and a couple of very small paintbrushes, it's time to paint one side of the card with the coffee. This will be the hair side of the parchment, which is typically darker than the flesh side.
I have one big piece of card, 100 x 70 cm, 39½ x 27½ inches:
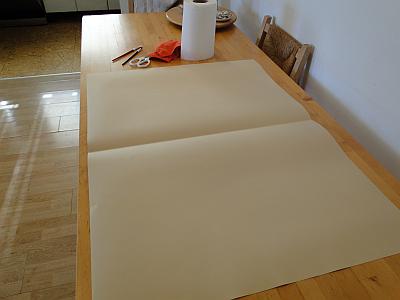
Let's make the coffee :)
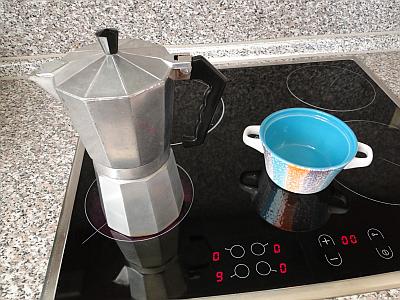
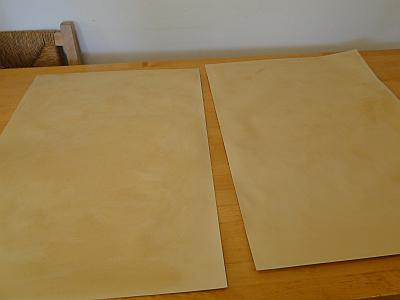
Coffee's done! I added a little cold water to it, and then cut the card into two pieces:
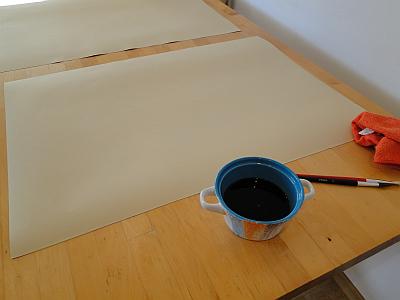
My small paintbrushes were no use, so I went straight to the kitchen roll and got started.
Kitchen roll is ideal - the card, or parchment, doesn't get too wet, and you can control where the coffee goes very easily.
You can also control how much coffee to soak into different pieces of our parchment:
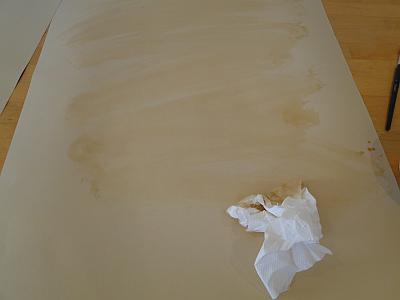
I splattered a little coffee here and there, which created a few interesting variations:
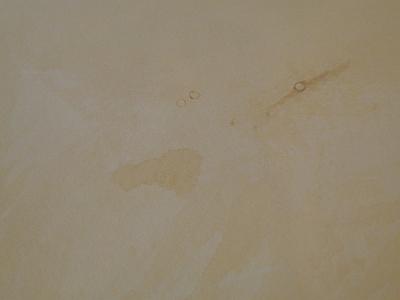
There! The cards are finished, much quicker and easier to do than I expected:
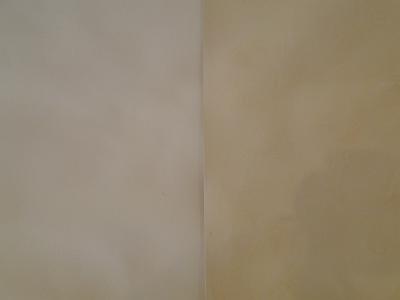
Below we can see the flesh side without coffee on the left; and the hair side with coffee on the right:
Now we leave the card to dry for a few hours.
Meanwhile, it's time to enjoy our view from the old town in Sozopol, on the Black Sea here in Bulgaria:
step 2
In this step, I will use some colour pencils to add follicle marks, veins and stains to the hair side of the parchment.
I'll also make a hole, cut an uneven edge, and think about whether to repair a hole by sewing now or leave it until a little later.
Hair follicles and uneven edge to parchment
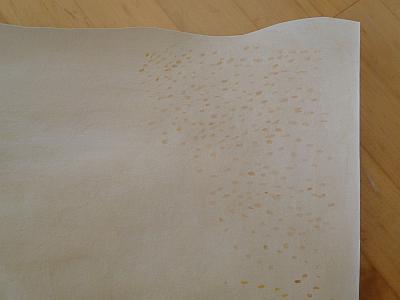
I cut around part of the parchment's edge to mimic the uneven edge of the animal skin.
Then I used a brown crayon to add dots to replicate hair follicles on the hair side of the parchment:
Holes and stitch repair
I drew out a hole shape with a pencil, made my hole with a small pair of scissors, then cut around outside my pencil mark.
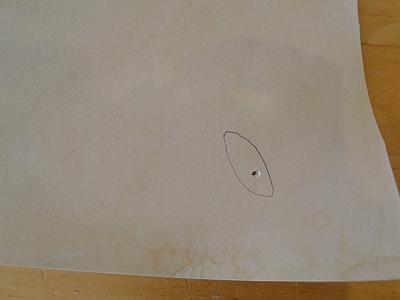
Practising for the stitching has taken quite some time, but has been a fascinating process. Stitching onto card, rather than material such as cotton, has its own challenges, and it is interesting to imagine what real parchment is like to work into - maybe it's tougher than my card!
I don't know exactly how we will be using the parchment, so have decided to wait until I can see the hole's placement on the page before I make a stitch repair.
However, I have been working out a reasonable substitute method, using the stitched hole in the Golden Legend manuscript image above as inspiration! It's a type of darning, and this is what I've achieved so far:
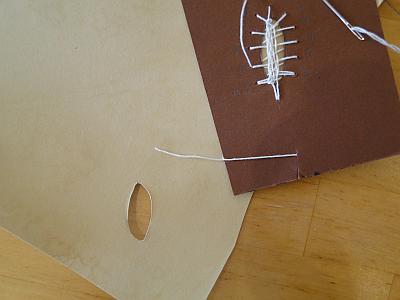
Stains and Veins
To imitate stain marks, I used a black crayon and scribbled a few areas along the edge of my parchment. I smudged them with a bit of water, just working the colour around with my finger, then added a little more colour with the crayon over the damp mark. It worked pretty well:
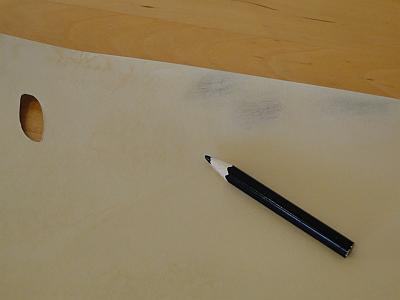
I put a few veins on the other side of the parchment - the flesh side.
Using a white crayon, I scored some lines to look like veins. They didn't show up very much, so I just shaded them a little with a normal pencil, going around the edges of the veins, and then rubbing the pencil shading in with my finger:
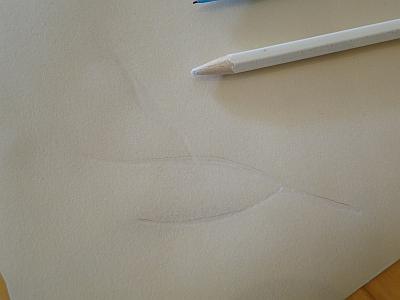
Later on, no doubt, I will add a few more holes - and maybe a tear, as I can't wait to test some more stitching in various colours! - plus more follicles and vein marks and stains depending on how we divide up our parchments.
Thanks for reading and see you in the next part of the adventure - making the quires :)
- Home
- Make a Codex
- Making Parchment